DTF transfers have become a go-to method for adding full-color, high-detail designs to apparel. This beginner-friendly guide offers a practical, step-by-step path from concept to finished garment and covers essential topics like DTF printing for beginners, how to design DTF transfer, DTF design tips, and the workflow you need to master. By demystifying the core ideas behind DTF transfers and outlining the correct application workflow, you can achieve professional results with less trial and error, and this DTF transfer application guide will help you navigate. You will learn about planning colors, sizes, and placements, plus useful DTF design tips to keep your prints crisp on cotton and blends. With a reliable process for printing, powdering, curing, and the DTF heat transfer process, you can approach each project with confidence and consistent results.
Another way to describe this technique is direct-to-film printing, a film-based transfer method that prints the artwork onto a clear film with special inks before bonding it to fabric. Think of it as a heat-activated, adhesive-coated film that transfers color with a press, a concept often described in terms of direct-to-film or film transfer for textiles. If you’re evaluating options for custom apparel, this fabric-decoration approach shares fundamentals with other heat transfer processes while offering flexibility, soft hand, and reliable color.
DTF Transfers Demystified: Why This Method Is Game-Changing
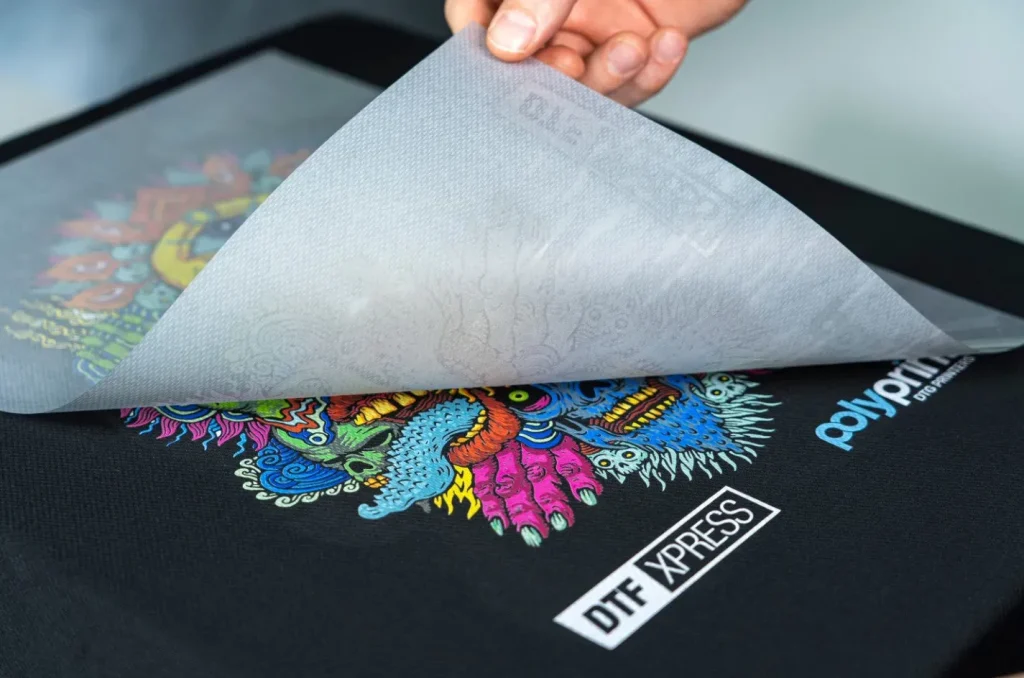
DTF transfers have emerged as a versatile method for adding full-color, high-detail designs to apparel. This approach uses a printed film, an adhesive powder, and a heat press to produce durable graphics with smooth gradients that feel soft on cotton and blends alike.
In practice, DTF transfers open opportunities for custom designs on a wide range of garments—team uniforms, merchandise, and one-off art pieces—while offering a forgiving learning curve when you follow a proven workflow that covers design, print, apply, and care.
DTF Printing for Beginners: Essential Gear and Setup
If you are exploring DTF printing for beginners, start with a compatible printer and software capable of handling film printing, a roll or sheet of DTF film, an adhesive powder, a heat press, and a clean, organized workspace.
Set up your area with proper ventilation and dedicated space for curing powder and drying films. Calibrate your monitor with color profiles and establish a consistent workflow to ensure repeatable results across multiple projects.
How to Design DTF Transfers: Planning, Color, and Layering
Design planning determines how your final image will look after printing and pressing. Consider color, size, placement, and garment color, and start with high-contrast concepts before attempting ultra-detailed photographs.
To optimize outcomes, plan for white or light areas, and think about white base (underbase) and color separations so the final result remains legible on different fabrics. This is where guidance on how to design DTF transfer becomes valuable for maintaining control over the printed result.
DTF Design Tips: Quick Wins for Color, Clarity, and Durability
Tip-focused design tweaks can greatly improve results: add subtle borders or safe margins to prevent clipping, use high-contrast color palettes for readability, and keep art organized with separate color layers for easier adjustments.
Additional guidance includes planning for white areas, avoiding overly complex gradients on small prints, and maintaining clean vectors or crisp raster work. These practical steps align with core DTF design tips to improve fidelity and durability.
The DTF Heat Transfer Process: Print, Cure, Press, and Peel
The core DTF heat transfer process begins with printing onto DTF film using water-based inks, followed by applying an adhesive powder to the surface and curing it to fix the powder before transfer.
During pressing, preheat the garment, place the film in position, and apply firm, even pressure at about 160–170 C (320–340 F) for 15–25 seconds, then perform a careful warm peel. Proper curing and timing help maximize adhesion and minimize color separation or residue.
DTF Transfer Application Guide: Best Practices, Troubleshooting, and Care
A structured DTF transfer application guide emphasizes clear placement marks, a stable heat press surface, and test prints to verify settings before committing to final items.
When issues arise—such as misalignment, ghosting, or edge lifting—refer to manufacturer guidelines and adjust heat, time, or pressure accordingly. Post-care, including washing and handling guidelines, helps extend the life of your DTF designs.
Frequently Asked Questions
What are DTF transfers and how does the DTF printing for beginners workflow work?
DTF transfers are a Direct to Film process where a design is printed on a transparent film, coated with adhesive powder, and heat pressed onto fabric. In the DTF printing for beginners workflow, you design the artwork, print onto film with water-based inks, apply an adhesive powder, cure the powder, and press the film onto the garment at the recommended temperature. The result is a vivid, durable image that works well on cotton and blends, with a final peel and care steps to maximize longevity.
How to design DTF transfer for best results?
Start with high-resolution artwork (300 PPI or higher) and plan color, size, and garment color. For beginners, choose simple, high-contrast designs and plan for white areas and underbase separations so colors print clearly after pressing. Use separate color layers to simplify edits, and calibrate your monitor with color profiles to minimize on-screen to print color shifts.
What are essential DTF design tips to improve color and durability on fabrics?
DTF design tips include adding a subtle margin around edges to prevent clipping, using high-contrast colors for legibility on light and dark fabrics, and planning for white areas with proper color separations. Keep white underbase considerations in mind to avoid a washed-out look on dark garments, and organize files with layered elements to make updates easier.
What is the DTF heat transfer process and how can I optimize temperature and timing?
The DTF heat transfer process involves preheating the garment, placing the printed film onto the fabric, and pressing with firm, even pressure at about 160–170 C (320–340 F) for 15–25 seconds. Always follow manufacturer guidelines for your film and powder, and ensure proper curing before pressing to achieve consistent adhesion and edge quality.
DTF transfer application guide: what best practices does it cover?
The DTF transfer application guide emphasizes precise placement with marks, using a clean and stable heat press surface, and choosing the right platen for garment thickness. It also covers conducting test prints, maintaining an organized workflow, and recording settings for powders, films, and fabrics, plus proper peeling and post-press care to ensure repeatable results.
What common issues occur with DTF transfers and how can beginners troubleshoot them?
Common issues include color shifts, ghosting, misalignment, and edge lifting. Troubleshooting tips for beginners include using reliable color profiles and calibration, ensuring even adhesive powder coating and proper curing, using alignment tools or test prints, and confirming heat press temperature, time, and pressure match the material and powder specifications.
| Aspect | Key Points |
|---|---|
| What are DTF transfers | • Direct to Film printing method: a design is printed on a transparent film with water-based inks, then coated with adhesive powder and heat pressed onto fabric. • Yields a vivid, durable image that can reproduce gradients and fine detail on fabrics like cotton and blends. |
| Why DTF transfers are appealing | • Flexible and relatively easy once the workflow is understood. • Capable of vibrant colors, intricate line work, and adhesion to a wide range of fabrics. • Forgiving learning curve when you follow a proven process (design → print → apply → care). |
| Core components and steps | • Requires printer and software for film printing, DTF film, adhesive powder, heat press, and a clean workspace. • Process: design artwork → print onto film → apply powder → cure/dry the powder → press onto garment. |
| Designing for DTF transfers | • Plan color, size, placement, and garment color. • Start with simple high-contrast designs before complex photos. • Decide garment color and print size to influence color management and legibility. |
| Color management and artwork specifics | • Use high-resolution artwork (300 PPI or higher) and color-preserving file formats. • Plan for white areas and potential color separations/underbases to maintain look after pressing. • Calibrate monitor and use appropriate color profiles for predictable results. |
| Printing and powdering basics | • Print onto DTF film with compatible inks and correct printer settings. • Apply an even layer of adhesive powder; even coverage is essential to avoid ghosting and poor adhesion. |
| Curing and preparing for transfer | • Cure/dry the powder per the manufacturer’s instructions to fix it. • Proper curing yields consistent adhesion and clean results; skipping or rushing can compromise quality. |
| Applying DTF transfers: the heat press workflow | • Preheat garment briefly, position the film, and apply even pressure. • Typical settings: about 160–170 C (320–340 F) for 15–25 seconds, with adjustments per materials. • Follow specific manufacturer guidelines. |
| Peeling and curing after pressing | • Peel while warm (warm peel is common) and allow cooling. • Cure further to maximize durability. • If edges lift, a second light press can help re-secure them. |
| Post-press care and washing considerations | • Turn garments inside out, use mild detergents, and avoid high heat early on. • Most DTF transfers withstand routine laundering, but excessive heat or harsh cycles may reduce longevity. |
| DTF design tips to improve results | • Add subtle borders or safe margins to prevent clipping. • Use high-contrast colors for legibility on light/dark fabrics. • Keep files organized with separate color layers for easy edits. |
| Troubleshooting common issues | • Color shifts: calibrate workflow and color profiles. • Ghosting/poor adhesion: ensure even powder and proper curing. • Misalignment: use alignment tools or test prints. • Edges lifting: adjust heat, pressure, and time. |
| DTF transfer application guide: best practices | • Start with clear placement marks and a clean surface. • Use a stable heat press and appropriate platen for garment thickness. • Do test prints, maintain an organized workflow, and document exact settings. |
| What beginners should avoid | • Skipping curing steps or using wrong temperature/time. • Pressing on fabrics that are too thick or not flat. • Relying on trial and error; follow manufacturer guidelines and build a testing schedule. |
Summary
The HTML table above summarizes the core ideas from the base content about DTF transfers. It captures what DTF transfers are, why they’re appealing, the essential workflow and design considerations, and practical tips to avoid common issues. The next section provides a descriptive, SEO-focused conclusion about DTF transfers.