DTF transfer problems can disrupt even well-planned print runs, turning vibrant designs into moments of frustration. Understanding the root causes and practical fixes is essential for saving time, materials, and effort on every project, from small runs to large batches, and for maintaining consistent results under varying fabric blends, print conditions, and post-press care. This guide focuses on DTF transfer troubleshooting to help you diagnose issues quickly and plan targeted remedies. By outlining actionable steps, you can move from guesswork to reliable, repeatable results, reducing rework and material waste across runs, while building a workflow that scales with demand and adapts to different production schedules, team sizes, and equipment configurations. From film selection and heat-press technique to fabric prep and post-press care, these strategies boost color accuracy, adhesion, and wash durability across different garment types and inks.
Beyond simple terminology, this topic can be described as textile transfer challenges and film-based printing workflows that hinge on careful substrate preparation. LSI principles encourage using related terms such as print quality issues, adhesion reliability, color fidelity, and precise heat press parameters to capture the broader intent. By reframing the discussion as a process optimization problem—focusing on materials, settings, and timing—you can build a vocabulary that supports clearer troubleshooting. This approach aligns with standard garment printing practices, where consistency across fabrics and durable finishes are the ultimate measures of success. Thinking in terms of transfer techniques, press calibration, and workflow design helps teams communicate and implement Fixing DTF transfers and other improvements more efficiently.
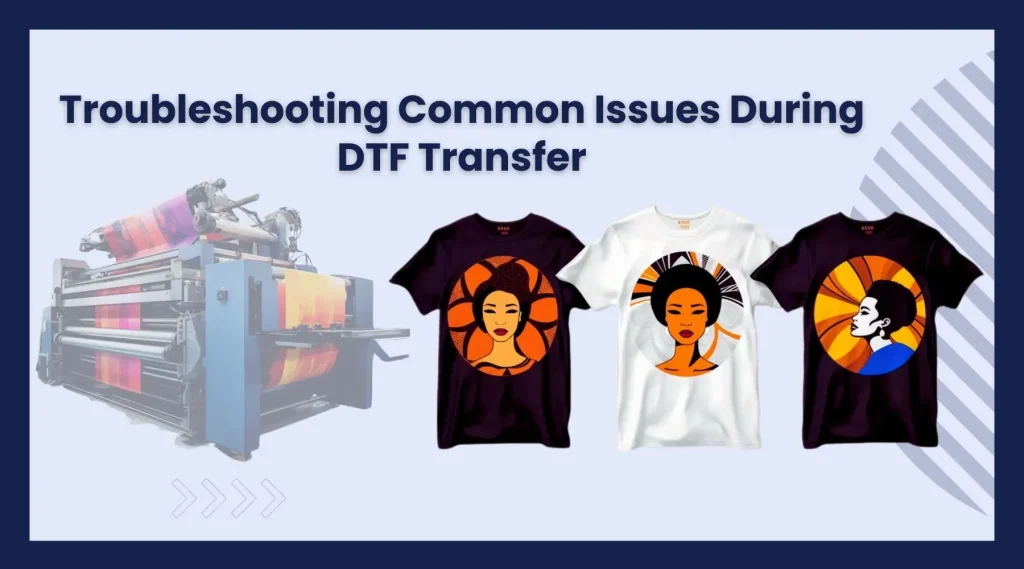
DTF Transfer Troubleshooting: Best Practices for Consistent Color and Adhesion
A structured approach to DTF transfer troubleshooting helps you identify and resolve issues before they escalate. By treating each job as a repeatable process—from substrate selection and file preparation to heat-press parameters—you can minimize common DTF printing problems and achieve reliable color and adhesion. Emphasize clear design intent, proper separation, and accurate color management to reduce mis-registration and post-press surprises. Incorporating a routine for validation prints and documented settings creates a dependable workflow that translates into consistent results across runs.
Integrate color management and material checks into your daily routine. Calibrate printers with reliable color profiles, test ink consistency, and choose compatible film and adhesive for each fabric type. When you combine accurate alignment, even platen pressure, and careful drying/curing, you reduce the likelihood of dull colors, white ink gaps, or edge cracking. This mindset of preventive checks—paired with quick, repeatable fixes—embeds DTF transfer troubleshooting into your production culture.
Diagnosing DTF Transfer Problems: Mis-Registration, White Ink Gaps, and More
Mis-registration and color misalignment are among the most visible DTF transfer problems. Causes often include fabric stretch during pre-press, inconsistent platen pressure, or uneven transfer film tension. By inspecting alignment marks, ensuring the garment stays flat, and rechecking the print file layout, you can reduce drift and improve edge sharpness. A methodical approach to diagnosing registration issues also helps you decide when to reprint with a tighter color plan or different spacing.
White ink gaps or inconsistent coverage on dark fabrics undermine contrast and design fidelity. Root causes range from improper white ink deposition to smudging during handling or insufficient drying time between layers. Address this by printing a dedicated white underbase with a reliable white ink set, enforcing adequate curing, and handling the film with care. When white areas print cleanly, you’ll notice stronger, more durable results across a range of fabrics.
Fixing DTF Transfers: Practical Steps from File Prep to Heat Press
Fixing DTF transfers starts with strong file prep and careful alignment before you even reach the heat press. Recheck color separations, verify registration marks, and confirm that the layout aligns with garment dimensions. If mis-registration is detected, adjust the design placement or printer bed calibration and reprint with tighter spacing so the final transfer lands where it should. This disciplined preparation reduces costly reworks in larger runs.
From there, align pre-press conditions with film and adhesive guidelines. Ensure substrates are dry, ensure even platen pressure, and follow the manufacturer’s recommended heating time. If color or adhesion appears off after the first press, slightly tweak temperature or dwell time in controlled test prints. Small, incremental changes help you converge on the optimal settings for your film/ink combo without cascading failures across batches.
DTF Heat Press Tips for Reliable and Durable Transfers
The heat press is often the bottleneck for quality in DTF transfers. Start with the manufacturer’s temperature and dwell time recommendations for your specific film and adhesive, then adjust in small increments to enhance color depth or adhesion. Use a calibrated heat press with even temperature distribution and a digital readout to ensure uniform results across the transfer area.
Pay attention to pressure, peel method, and timing. Even pressure across the entire surface prevents corners from lifting, while choosing a hot, warm, or cool peel based on your film’s guidelines can influence edge definition and color saturation. After pressing, allow a brief cooling period to let the adhesive set before handling. These DTF heat press tips help you achieve consistent durability and wash resistance.
Optimizing Materials to Solve DTF Printing Problems: Film, Adhesive, and Ink
Material choices have a major impact on DTF printing problems. The compatibility between film, adhesive, and ink determines adhesion strength, color accuracy, and wash durability. When you encounter inconsistent results, test different brand combinations to identify the most reliable triad for each fabric. Regularly check the film’s quality and adhesive age to prevent degradation that leads to dull colors or edge lifting.
Storage, shelf life, and preparation matter as much as the on-press steps. Store consumables in a clean, dry environment and pre-dry fabrics to remove moisture that can cause ink bleed or poor adhesion. Run small test swatches whenever you switch materials or settings to document performance and guide future projects, reducing DTF printing problems over time.
Preventing Future DTF Print Quality Issues: Color Management and Process Documentation
Proactive color management and repeatable processes are your strongest defenses against DTF print quality issues. Regularly calibrate printers, verify color profiles, and maintain a consistent workflow to reduce the need for heavy post-processing. A disciplined approach to color management minimizes dull or oversaturated results and helps you meet color expectations across different fabrics.
Documenting settings for each design, fabric type, and production line creates a knowledge base you can reuse. Maintain a simple, repeatable settings sheet, track results from test swatches, and update procedures as you refine your process. This level of documentation supports faster troubleshooting, enables reliable repeatability, and helps you deliver vibrant, long-lasting designs that stand up to washing and wear.
Frequently Asked Questions
What are the most common DTF transfer problems and their symptoms (DTF transfer problems)?
Common DTF transfer problems include mis-registration, white ink gaps, cracking or peeling after wash, color fading, and color bleeding between inks. Symptoms like shifted designs, missing white areas on dark fabrics, or edges that lift during washing indicate underlying issues in alignment, ink deposition, or curing. Use a structured troubleshooting approach to identify the root cause and apply targeted fixes for consistent results.
How can I troubleshoot DTF transfer problems caused by mis-registration?
DTF transfer troubleshooting for mis-registration starts with ensuring the garment is flat and secured, then checking alignment marks and platen setup. Rework the print file layout with tighter spacing or updated color plans and verify bed alignment before pressing. After adjustments, print a small test garment to confirm alignment before running larger batches.
Why do white ink gaps occur in DTF printing problems and how can I fix them?
White ink gaps in DTF printing problems are often caused by insufficient white underbase deposition, smearing during handling, or inadequate drying time. Fixes include printing a reliable white underbase, ensuring adequate drying/curing time, and handling the film gently to prevent smudging. Consistently verify white ink coverage on test prints before proceeding to full production.
How can I prevent cracking, peeling, or fading in DTF transfers (DTF print quality issues)?
Cracking, peeling, or fading usually stems from incomplete adhesive curing, improper fabric prep, or suboptimal color management. Fixes include confirming adhesive compatibility with the fabric, following the recommended cure times, and maintaining proper color profiles and heat settings. Also remind customers about garment care to extend transfer life.
What are essential DTF heat press tips to address transfer problems?
DTF heat press tips focus on following manufacturer guidelines for temperature and dwell time, ensuring even pressure across the transfer, and choosing the correct peel method. Start with the recommended settings, then test adjustments on similar fabrics to optimize color depth and adhesion. Allow a brief post-press cooling period before handling the garment.
How can I create a quick DTF transfer troubleshooting checklist to tackle common DTF transfer problems?
Build a concise DTF transfer troubleshooting checklist by outlining: substrate compatibility, print file alignment, consumable quality (ink, film, adhesive), pre-press and post-press steps, and small test prints. Regularly document settings and outcomes for repeatable results, use test swatches when changing materials, and keep a log to speed future problem solving.
| Section | Key Points |
|---|---|
| Introduction |
|
| Common DTF transfer problems and their causes |
|
| DTF transfer troubleshooting: quick fixes you can implement now |
|
| A practical troubleshooting checklist for DTF transfers |
|
| Tips for improving DTF print quality and longevity |
|
| Applying DTF heat press tips for better results |
|
Summary
DTF transfer problems are common in busy production environments, but they don’t have to derail your projects. With a structured troubleshooting approach, you can identify root causes, apply practical fixes, and improve print quality and wash durability across fabrics. This guide covers common issues from mis-registration and white ink gaps to adhesion challenges and color fade, offering quick checks, test methods, and best practices for color management, heat-press settings, and fabric preparation to help you achieve repeatable, reliable DTF transfers.